Dataviz Nanopost: 360° VR Videos in R
When you create a traditional 3D visualization, one problem you inevitably have to tackle is “Where do I point the camera?” A poor choice of camera angle can obscure important information and confuse your viewer. And while you might want to direct your viewer to one area of your visualization, they might be interested in a different region altogether.
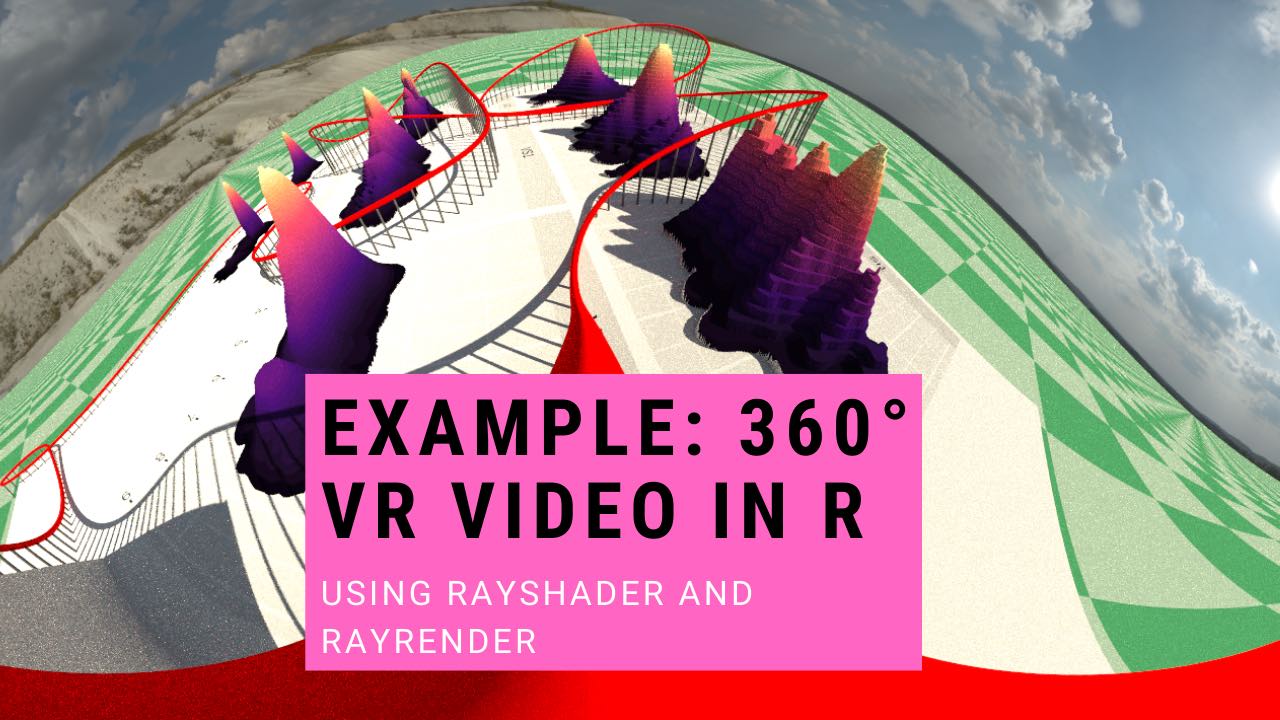
The solution? Render every camera angle and let your viewer choose! That’s the idea behind rayrender’s new 360° camera option. Rather than worry about animating the perfect camera path, you can just render everything and create a video that can be either viewed in VR or as a 360° video in your browser/on your phone that lets the viewer choose where to look. The only downside is increased render time—rather than rendering a small view into the world, you’re rendering the entire thing.
To create the above rollercoaster animation, I took the code from this post and made a few changes, listed in the single chunk below. If you want to recreate this animation, just run everything up to the last chunk and then run the chunk below. Not much is different: I just removed the custom lookat points and set fov = 360: everything else is the same! Check it out:
Code Snippet (see previous post for context):
lookat_animated = generate_camera_motion(selected_points_offset, selected_points_offset,
                                          closed=TRUE, fovs = 360, constant_step = FALSE,
                                          curvature_adjust = "none",
                                          type = "bezier",
                                          frames=900,
                                          offset_lookat = 0)

render_animation(scene,lookat_animated, samples=128, width=1920,height=1080,
                 debug="preview",filename="animatelookat",
                 environment_light = "quarry_03_4k.hdr")
system("ffmpeg -framerate 30 -i animatelookat%d.png -pix_fmt yuv420p animated_video.mp4")
Additionally, if you want to upload the video to youtube, you’ll need to add additional spatial metadata to the mp4 file. You can do this using the free Google Spatial Media Metadata Injector python application.
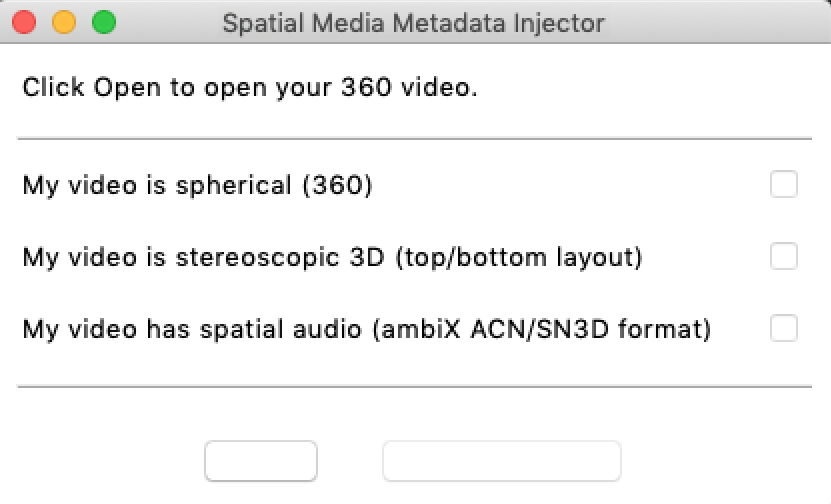
Just open the GUI, select the video (the left-most button, which was blank on my Apple device), check “My video is spherical (360)”, and then hit inject metadata. You’re ready to upload!